This is the third time I'm building a custom keyboard. It's another TBK Mini from BastardKB. The difference from my last build is (hopefully) better build quality and hot swap.
How I built it
1. Printing the case
I started by printing the case on my Ender 3 printer with eSUN PLA+ Cold White filament. I sliced it using Ultimaker Cura with the following settings:
- Standard Quality - 0.2mm
- Build Plate Adhesion: Brim
- Supports: Tree supports
2. Ordering custom PCBs
On the last build I was't really happy with how messy the micro controller ended up. And hand-wiring the controller was a bit of a pain.
- I ordered white versions of the BastardKB Elite-C-holder from jlcpcb.com.
- The dactyl-flex-pcb was also ordered from jlcpcb.com.
3. Wiring the flexible PCBs
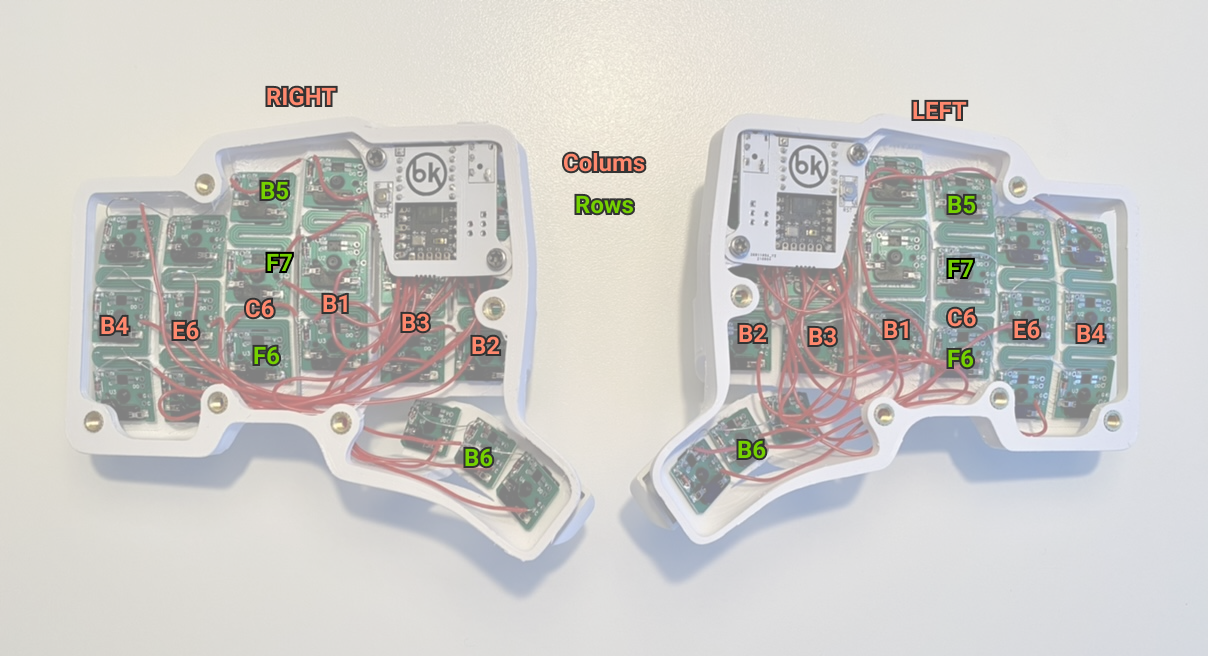
I wired the columns together by running one wire through all of the row holes. I found that this worked out best after some trial and error. I would have been really happy with one extra row hole on every key-switch section since it got pretty tight with the diodes that I used.
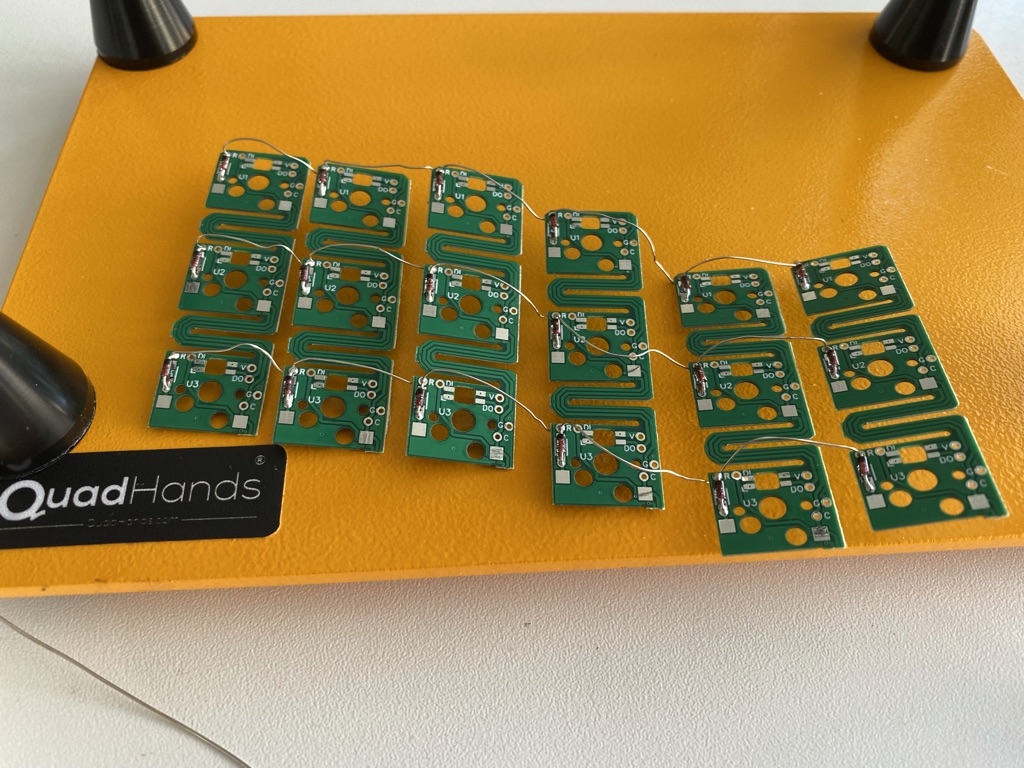
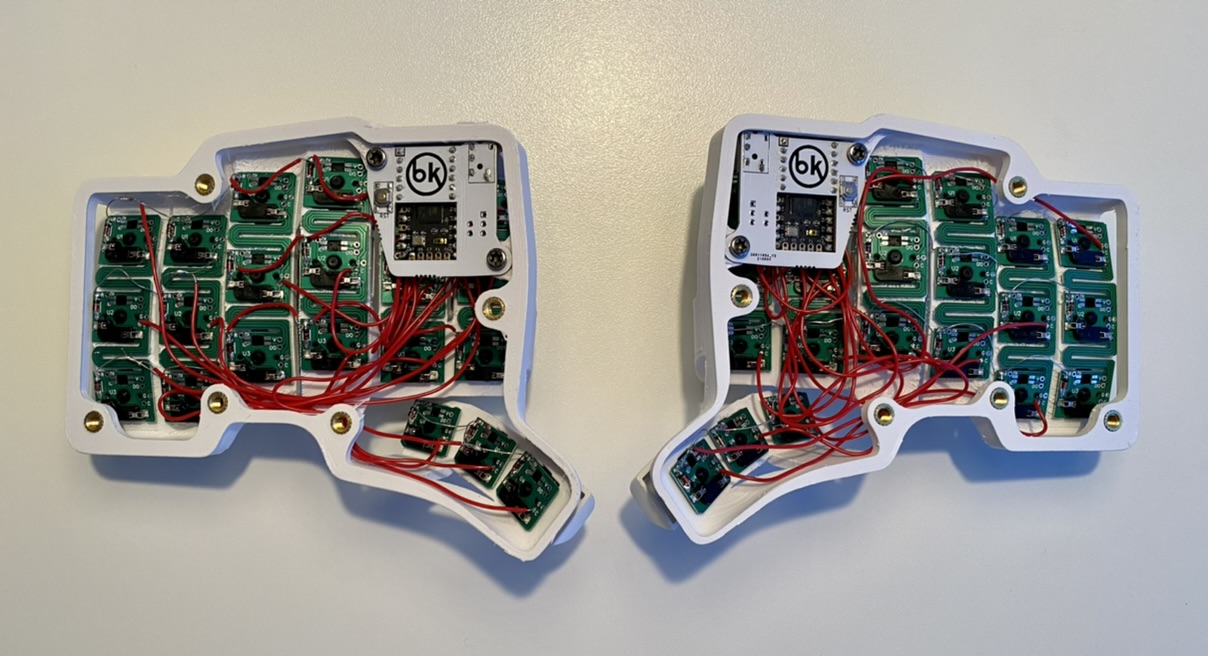
Then I soldered the hot swap connectors and tried out the fit in the case.
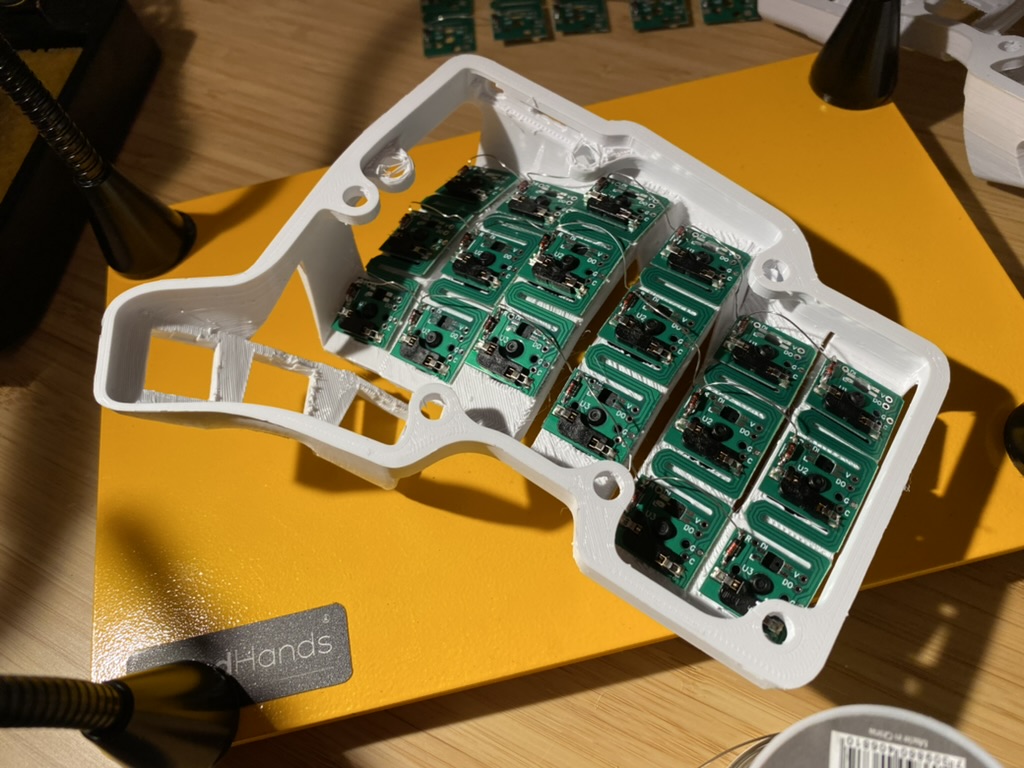
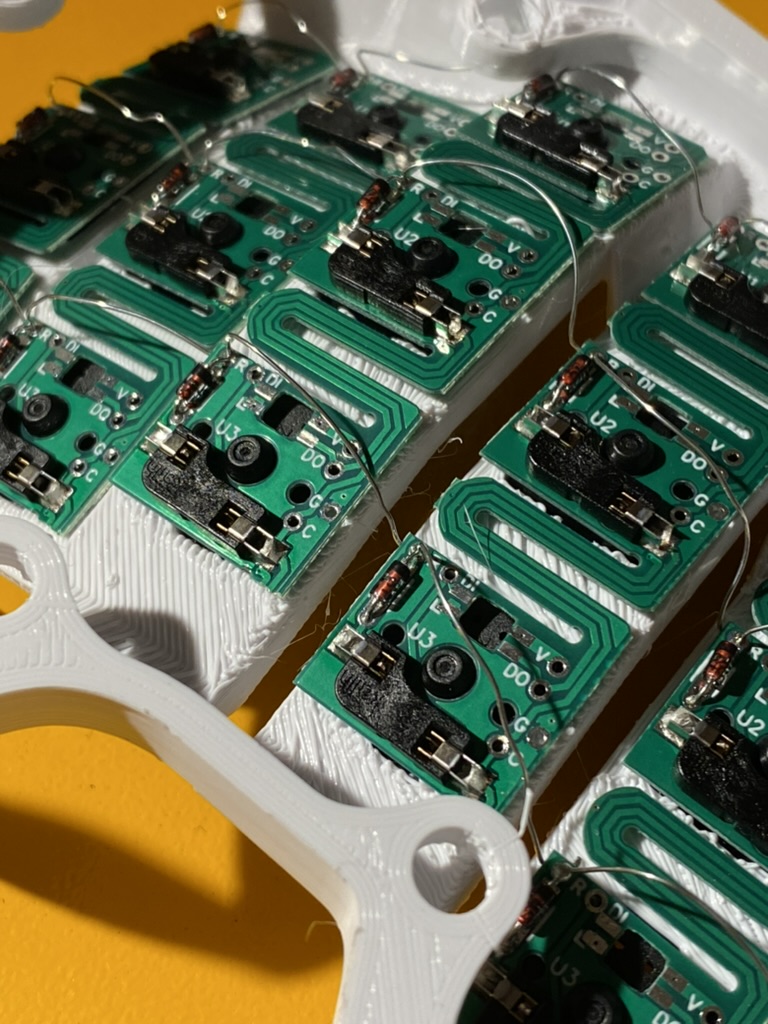
I wired the thumb clusters on one row and to columns that matches the original firmware (and my last build).
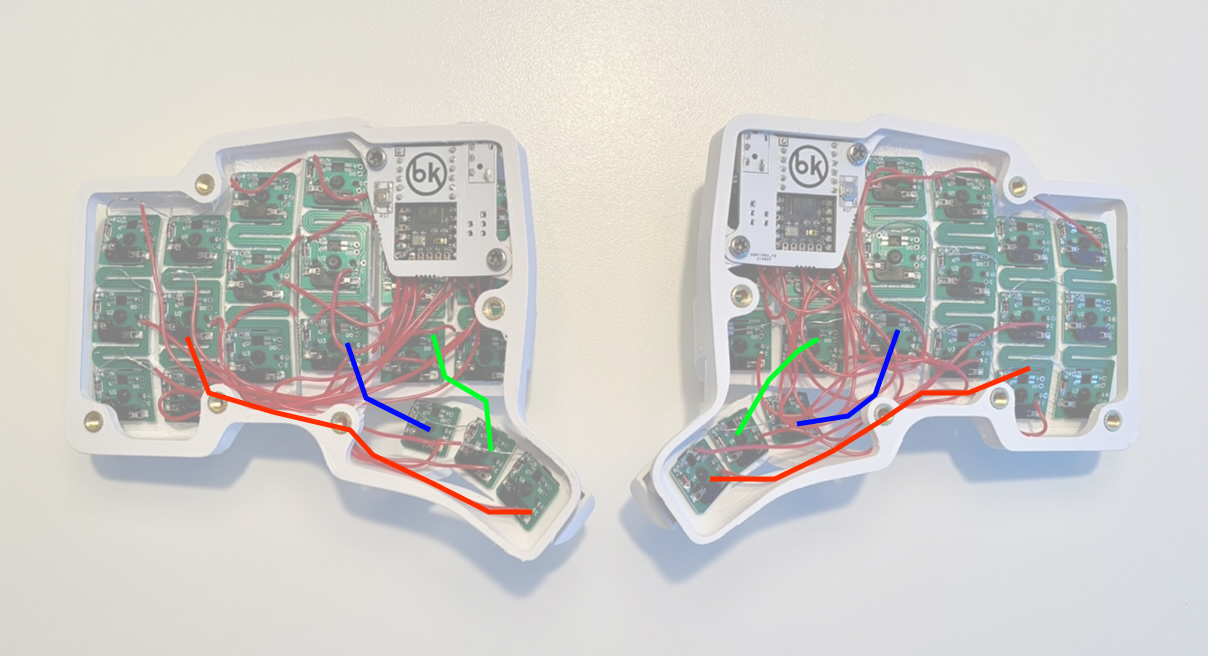
4. Wiring the Elite-C-holder
I wired the Elite-C-holder according to the excellent Prepare the Elite-C build guide.
I then wired everything just like my previous build. I could have mirrored the halves like the original TBK minis but I still had to change the diode direction on that firmware so I chose to stick with the firmware that I had already made. Image how I wired before
Update 2022-02-20
After the build I decided that I would wire it as the stock TBK mini. The both sides are now mirrored.This means that as long as I change the diode direction to #define DIODE_DIRECTION COL2ROW I can use the stock firmware.
All done.
5. Setting up the firmware
Since last time I have started to use my own userspace in the qmk firmware repository. It makes it really easy for me to use the same layout on all of my keyboards.
I used the following command when building my own miryoku inspired layout.
MAKEFLAGS="COL2ROW=yes" util/docker_build.sh bastardkb/tbkmini:cfarvidson
To make this possible I added the following in users/cfarvidson/rules.mk
COL2ROW ?= no
ifeq ($(strip $(COL2ROW)), yes)
	COL2ROW = yes
endif
and this to users/cfarvidson/config.h
#if defined(COL2ROW)
#    undef DIODE_DIRECTION
#    define DIODE_DIRECTION COL2ROW
#endif
6. All done
I added white NP keycaps from keycapsss.
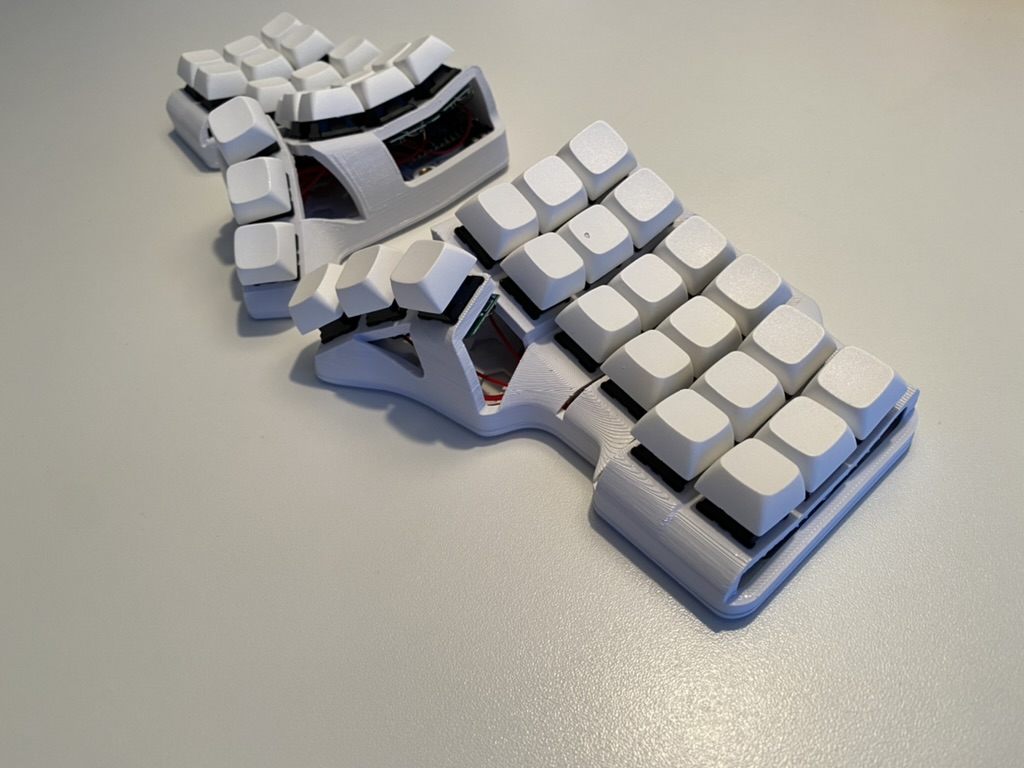
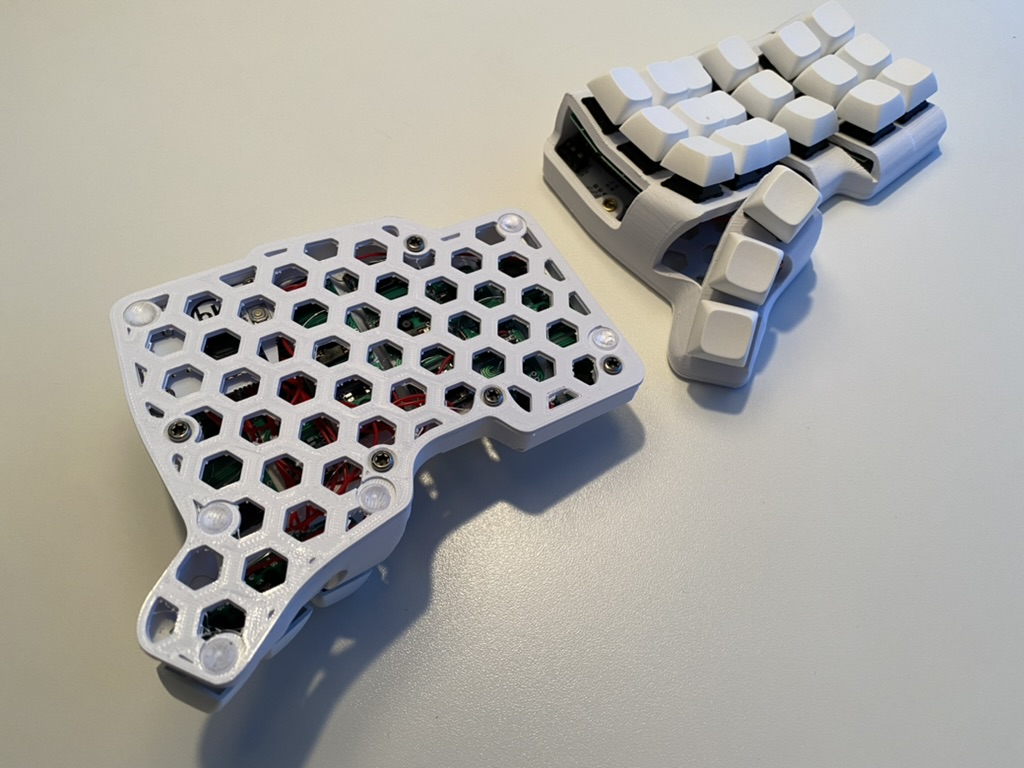
I'm really happy with the end result.